
Start With the Job, Not the Plate
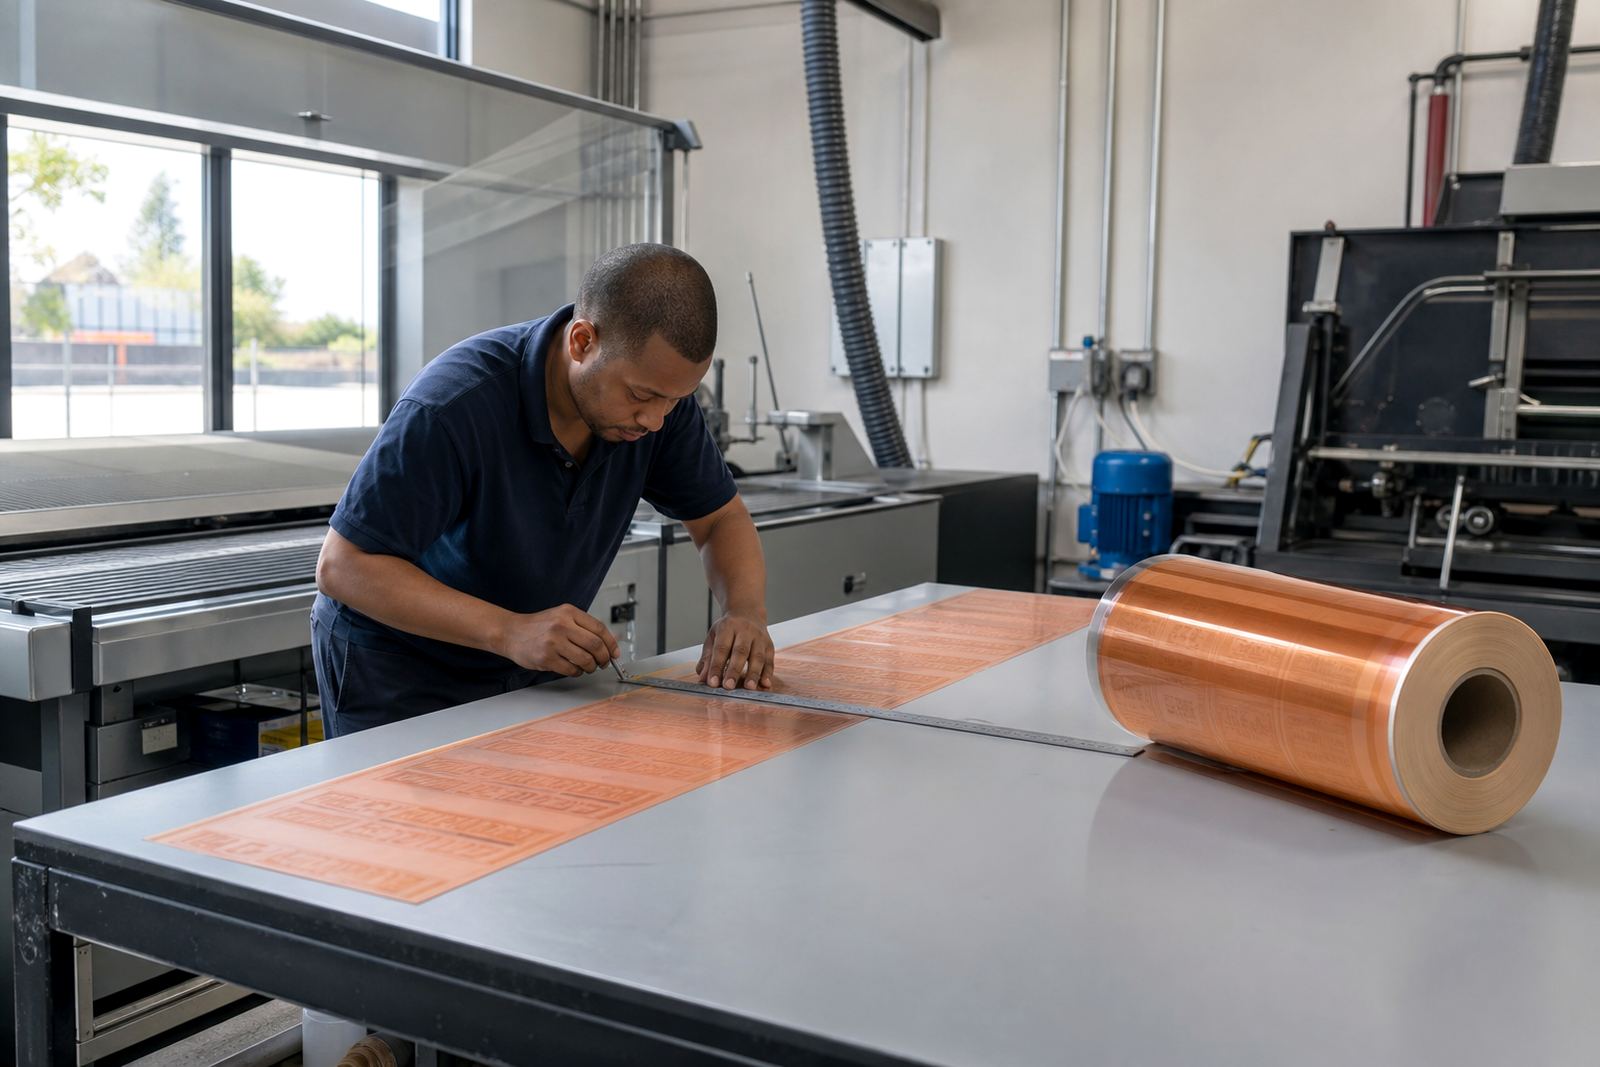
Plate thickness should follow the job requirements, not just what was used on the last run. A narrow label on coated paper, a wash-off sleeve, and a corrugated carton line all ask different things from the plate, so the first step is to look at the substrate, artwork detail, ink film, and press setup together.
For label and packaging printers in South Africa, this matters even more when jobs move between Gauteng, the coast and inland sites. Coastal humidity in Durban or Gqeberha can affect storage and handling, while cold mornings in Midrand or Pretoria can change how quickly plates settle before mounting. A plate that suits one job may not give the same result on another if the print conditions shift.
As a rule, thicker plates are often chosen where more impression relief or stronger print contrast is needed, while thinner plates can suit fine detail and tighter registration. The right answer depends on the press, the mounting system, and the type of print surface.
What Plate Thickness Changes on Press
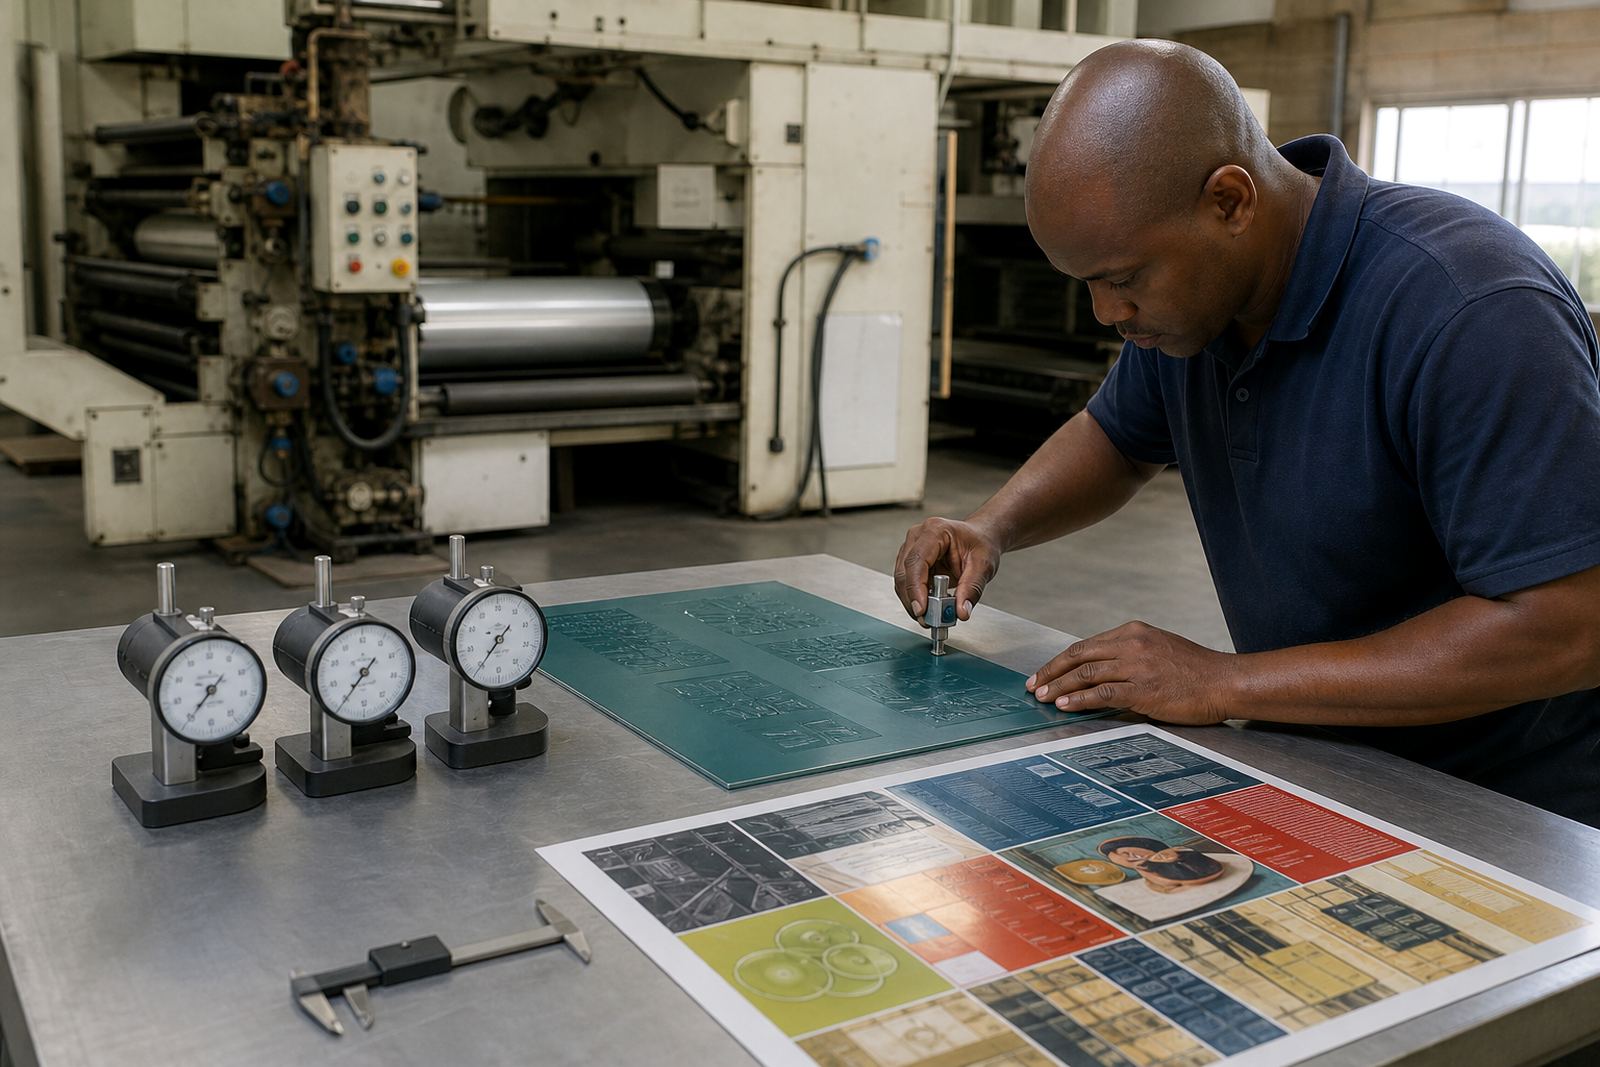
Plate thickness influences how the image transfers, how much pressure is needed, and how the print behaves at speed. A thinner plate can help with fine text and small reverse-outs, while a thicker plate can carry more relief and suit uneven or more demanding surfaces. If the plate is not matched properly, printers may see dot gain, weak solids, picking up of detail, or excessive pressure marks.
It also affects repeat consistency. When a job is being run again, using the same plate thickness helps keep impression settings closer to the previous setup. That saves time during makeready and reduces the risk of waste, especially on short label runs where every metre counts.
- Thinner plates are often used for fine type, small barcodes, and close registration work.
- Mid-range thicknesses are common for general label and flexible packaging work.
- Thicker plates may suit rougher surfaces or jobs needing more relief.
- Mounting tape, sleeve type, and cylinder size all need to be checked with the plate thickness.
Match Thickness to the Material and Print Surface
The best way to choose is to start with the material. Paper labels, film labels, cartons, and flexible packaging each behave differently under pressure. Smooth film often asks for a cleaner, more controlled plate setup, while textured or absorbent material may need a different balance of relief and impression.
If the artwork includes fine lines, small type, tonal areas or heavy solids, the plate thickness should support the most demanding part of the design. A job with both sharp micro text and large solid blocks may need a careful compromise, and that is where prepress advice helps. The aim is to avoid overpacking the press just to force one area to print properly.
For printers working across Johannesburg, Pretoria, the East Rand and the West Rand, it is worth keeping note of which thickness was used on each repeat job. That record helps when a client comes back months later with the same label or carton spec.
Use a Simple Selection Checklist
Before sending a job to plate making, check the basics. A clear brief saves time and reduces avoidable changes after production starts.
- Confirm the substrate type, including paper, film, foil or carton.
- Note the press type, cylinder size, and mounting system.
- Check whether the job is fine-detail labels, solid packaging panels, or mixed content.
- Review the artwork for small text, reverse-outs, screens, or tight registration.
- Confirm if the same job has been run before and what thickness was used.
- Share any known issues such as pressure marks, weak solids, or slow drying.
- Ask for proof comparison if the job needs careful colour or detail control.
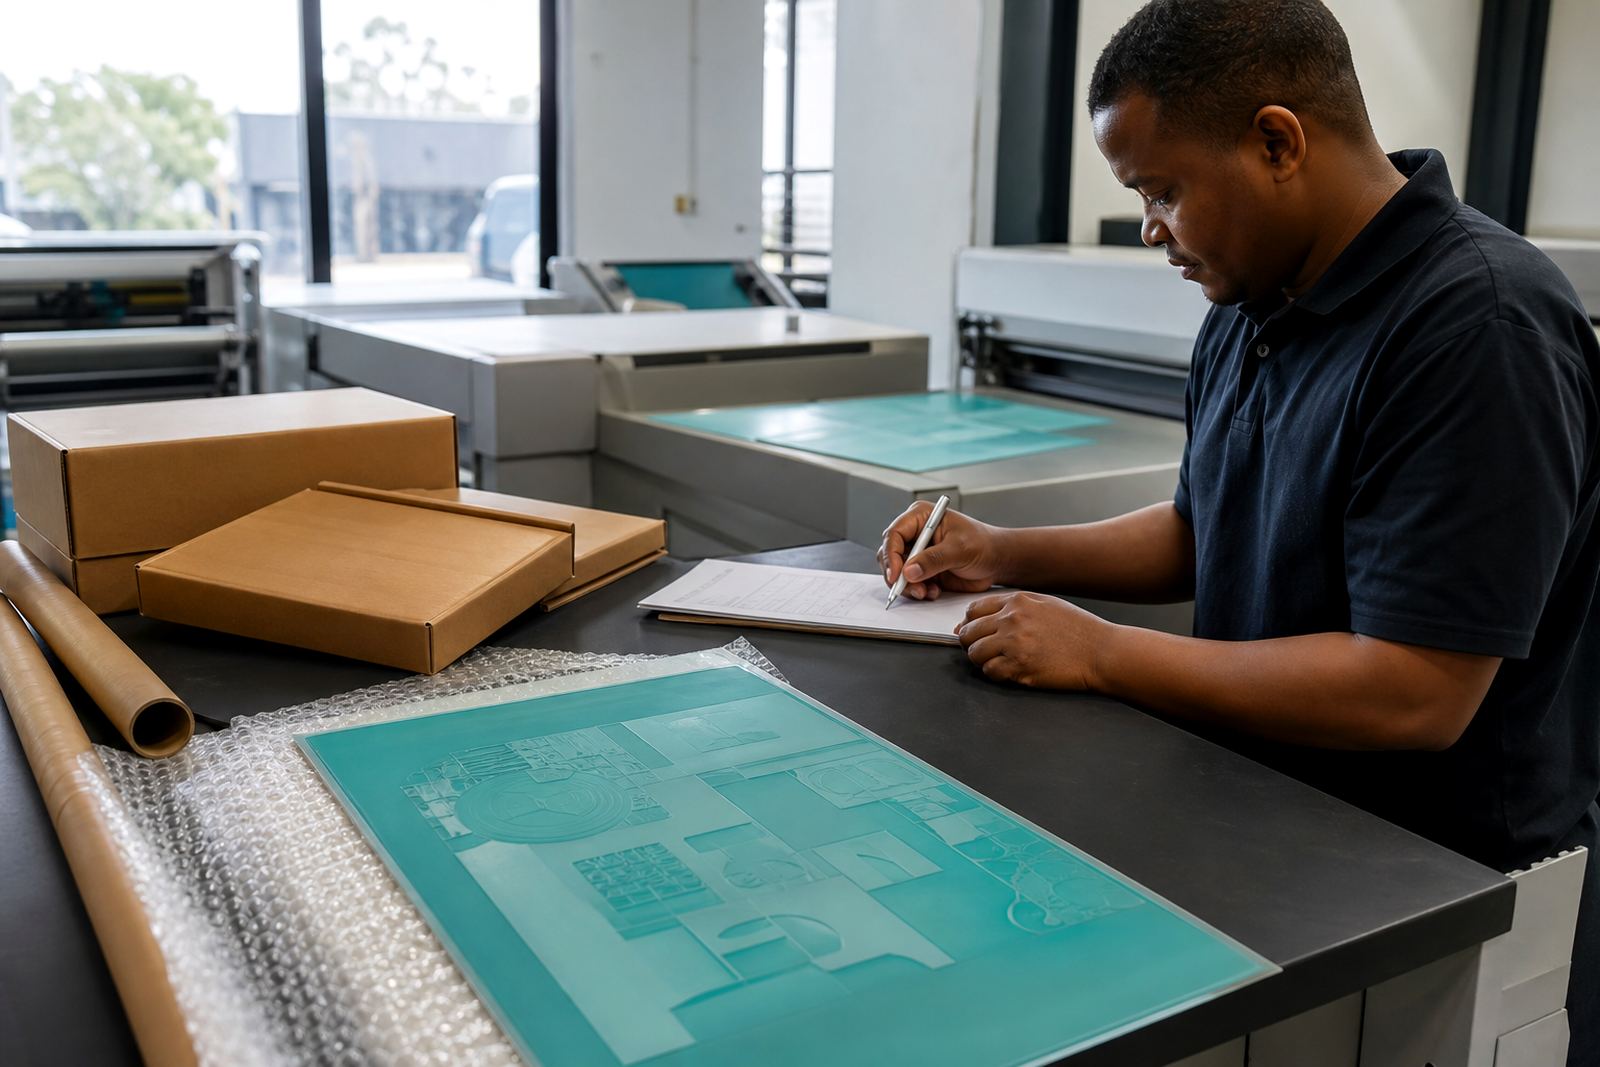
This checklist helps the plate-making process stay aligned with the press. It also supports better dispatch packing and plate labelling, which matters when jobs are couriered from Midrand to Cape Town, Durban, or Gqeberha and then unpacked at a busy press floor.
Watch for Storage and Handling Conditions
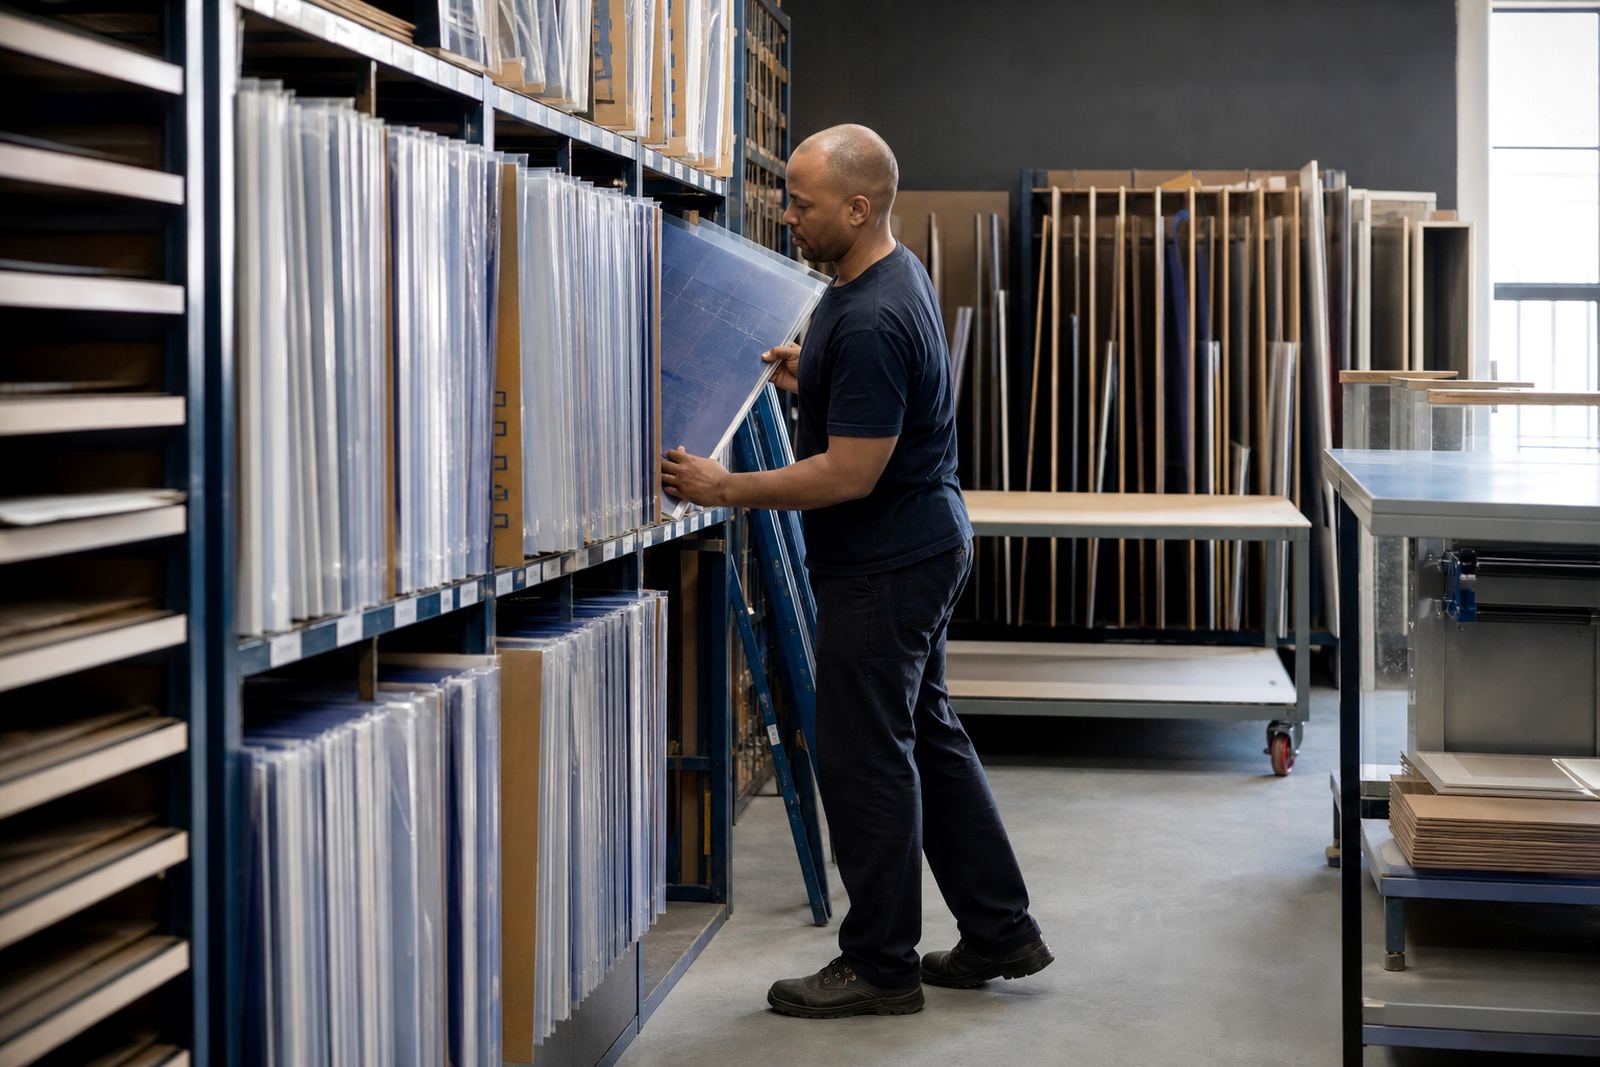
Photopolymer plates need careful handling from the moment they are trimmed to the time they are mounted. Heat, dust, and poor stacking can all affect how the plate performs. In South African print rooms, summer heat and coastal moisture are common factors, so clean storage is important whether the job is staying in Midrand or travelling by courier.
When plates are packed for collection or delivery, they should be labelled clearly and kept flat. If a printer is running shift work or managing load shedding, it helps to keep job notes with the plates so the next shift can pick up the setup without confusion. Good packing and clear notes can prevent delays when the press is back online.
- Store plates flat and away from direct sunlight.
- Keep them clean and free from dust or solvent residue.
- Check labels before mounting to avoid mix-ups on repeat jobs.
- Allow enough time for plates to settle after transport if conditions have changed.
How to Brief a Plate Maker Properly
A useful brief is practical and specific. It should tell the plate maker what the job is, what press it will run on, what level of detail it carries, and whether there are any known issues from earlier runs. If the job is new, include the artwork files, substrate details, and any proof notes. If it is a repeat, include the last plate thickness used and any changes to the layout or print target.
At Flexo Printer Plates in Midrand, the team works through artwork preflight, file checking, imposition planning, screening support, proof comparison, plate trimming, plate labelling, remake support, dispatch packing, collection coordination, and technical job advice. That process helps keep the plate choice aligned with the print outcome rather than treated as a stand-alone step.
For label and packaging printers across South Africa, the best result usually comes from asking the plate question early, before production starts. A small adjustment in thickness can be the difference between a job that needs constant correction and one that settles into a stable run.
Quick Buying Guide for Repeat Jobs
If you are deciding between plate thickness options, use this short guide as a final check. It is not about choosing the thickest or thinnest plate by default, but about matching the plate to the press and the print aim.
- Choose based on substrate and artwork complexity.
- Keep repeat jobs on the same thickness where possible.
- Ask for advice if the job has tiny type, screens, or heavy solids.
- Confirm mounting tape and cylinder fit before production.
- Record the final setup for the next run.
That approach saves time, supports steadier print quality, and makes it easier to manage jobs across different sites and delivery routes. Whether the plates are going to Johannesburg, Pretoria, Durban, Cape Town, Gqeberha or nearby Gauteng areas, the aim is the same: the right thickness for the job in front of you.